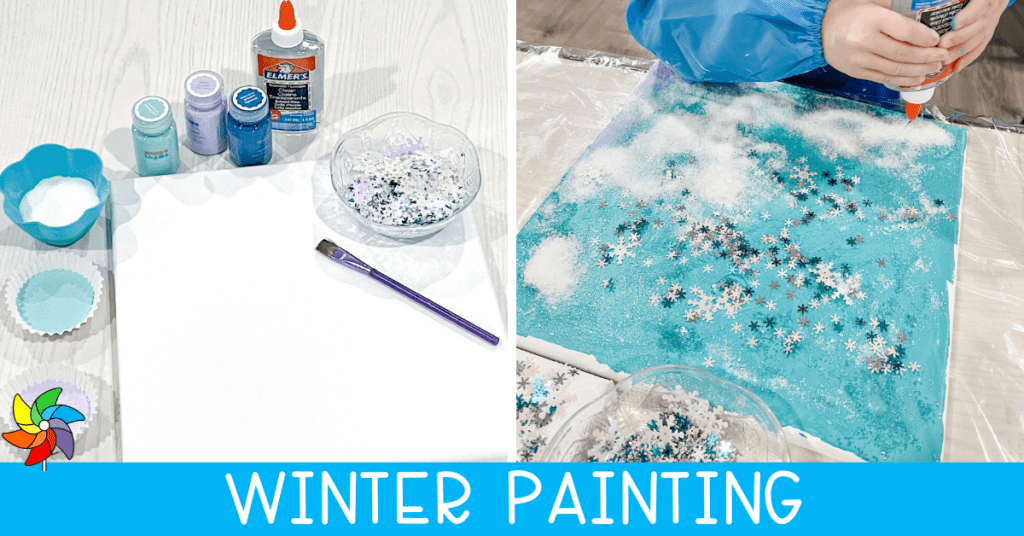
Colder temperatures and unpredictable weather make it a perfect time to warm up inside with a winter process art project. Inspired by the Stay at Home Educator, this creative preschool project is an experience that students will be sure to remember.
Benefits of Process Art
Unlike a directed drawing or craft project, process art focuses on the techniques and processes in art. Students practice squeezing, brushing, dripping, and pasting. The outcome of a process art design is individual and unique to each artist. There is not a finished model that they are looking to copy. While the process for students, their creativity and imagination will propel their designs in different directions.
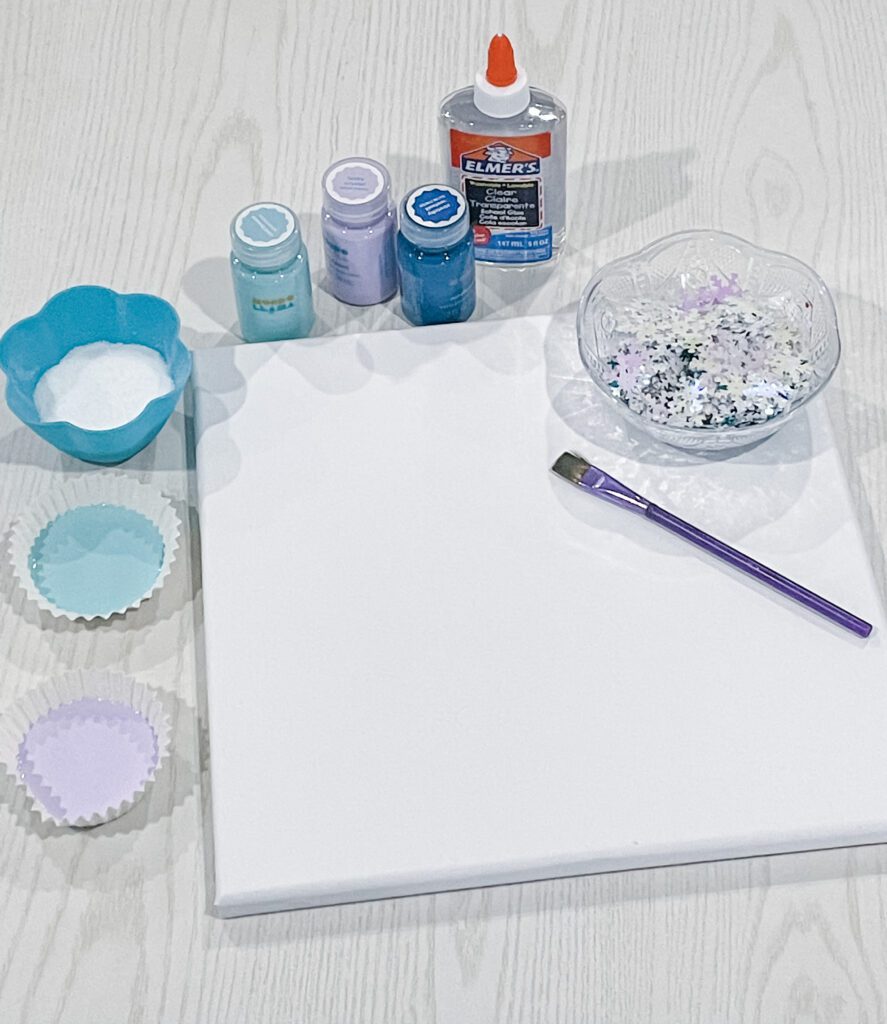
Supplies Needed
- 8″ x 10″canvas for each student (buy the “economy” version in bulk for cheap!)
- pastel acrylic paint (These are the mondo llama brand from Target.)
- paint brushes
- clear liquid glue (White glue also works!)
- snowflake glitter (Or any other glitter that makes you smile!)
- epsom salt
Check out this Resource from my Shop!

Winter Preschool Unit
$12.49This Winter Preschool Unit includes all of the lesson plans, activities, and ideas that you need to teach preschool and Pre-K students about the season. Everything is written out and planned for you to make your job easier!
- 10 circle time lessons
- 10 math, literacy, & fine motor centers
- Book Recommendations
How-to Create Winter Process Art Paintings
The beauty of process art is how the directions are open to interpretation. The process is the goal, not the end product, so there is no need to worry about sticking to precise steps.
In this winter process art project, students gain exposure and practice to a few different skills.
- Holding a paintbrush helps strengthen the muscles in the hand.
- Students practice hand-eye coordination as students choose where to put the paint on their canvas.
- Sensory development is also important as students pick up salt and glitter to create their masterpieces.
These things are organically incorporated into one project that both students and parents will cherish for years to come.
Getting Started
First, gather the supplies listed above. Be sure to have students wear a smock or apron to protect their clothes from the paint and glue.

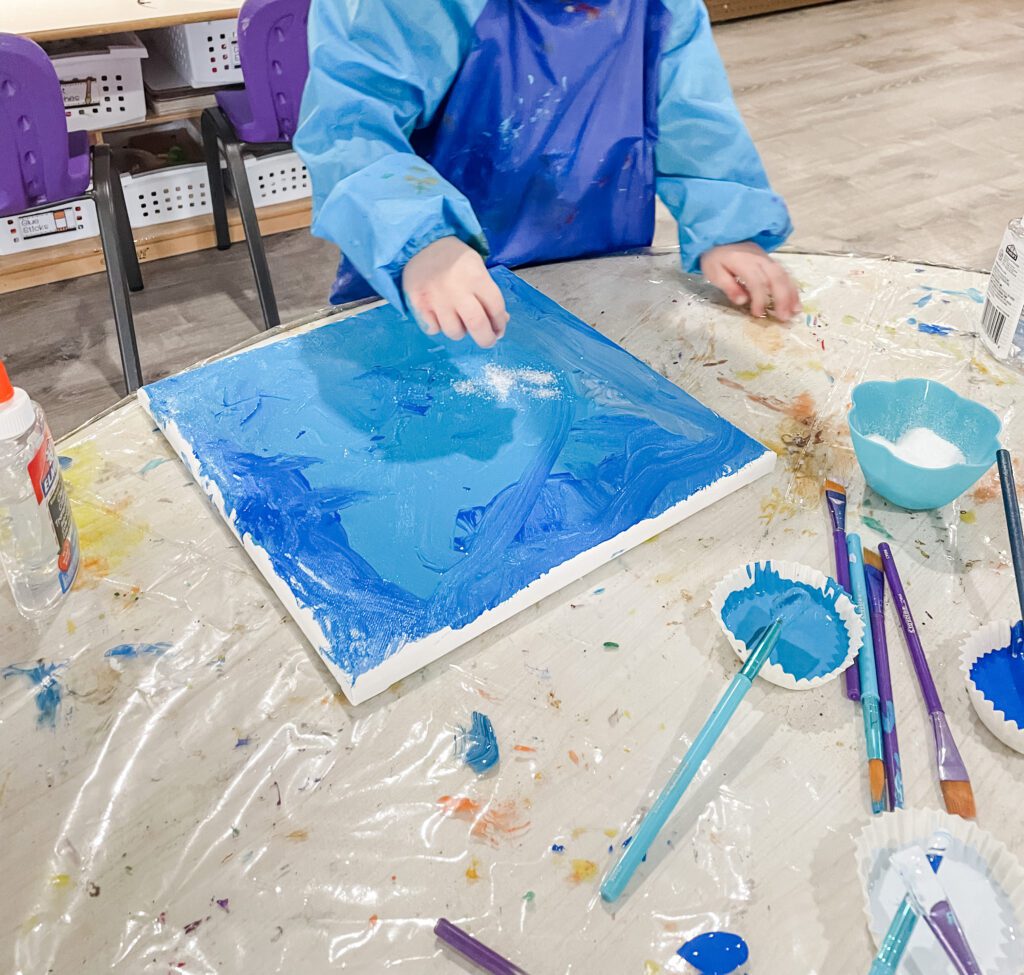
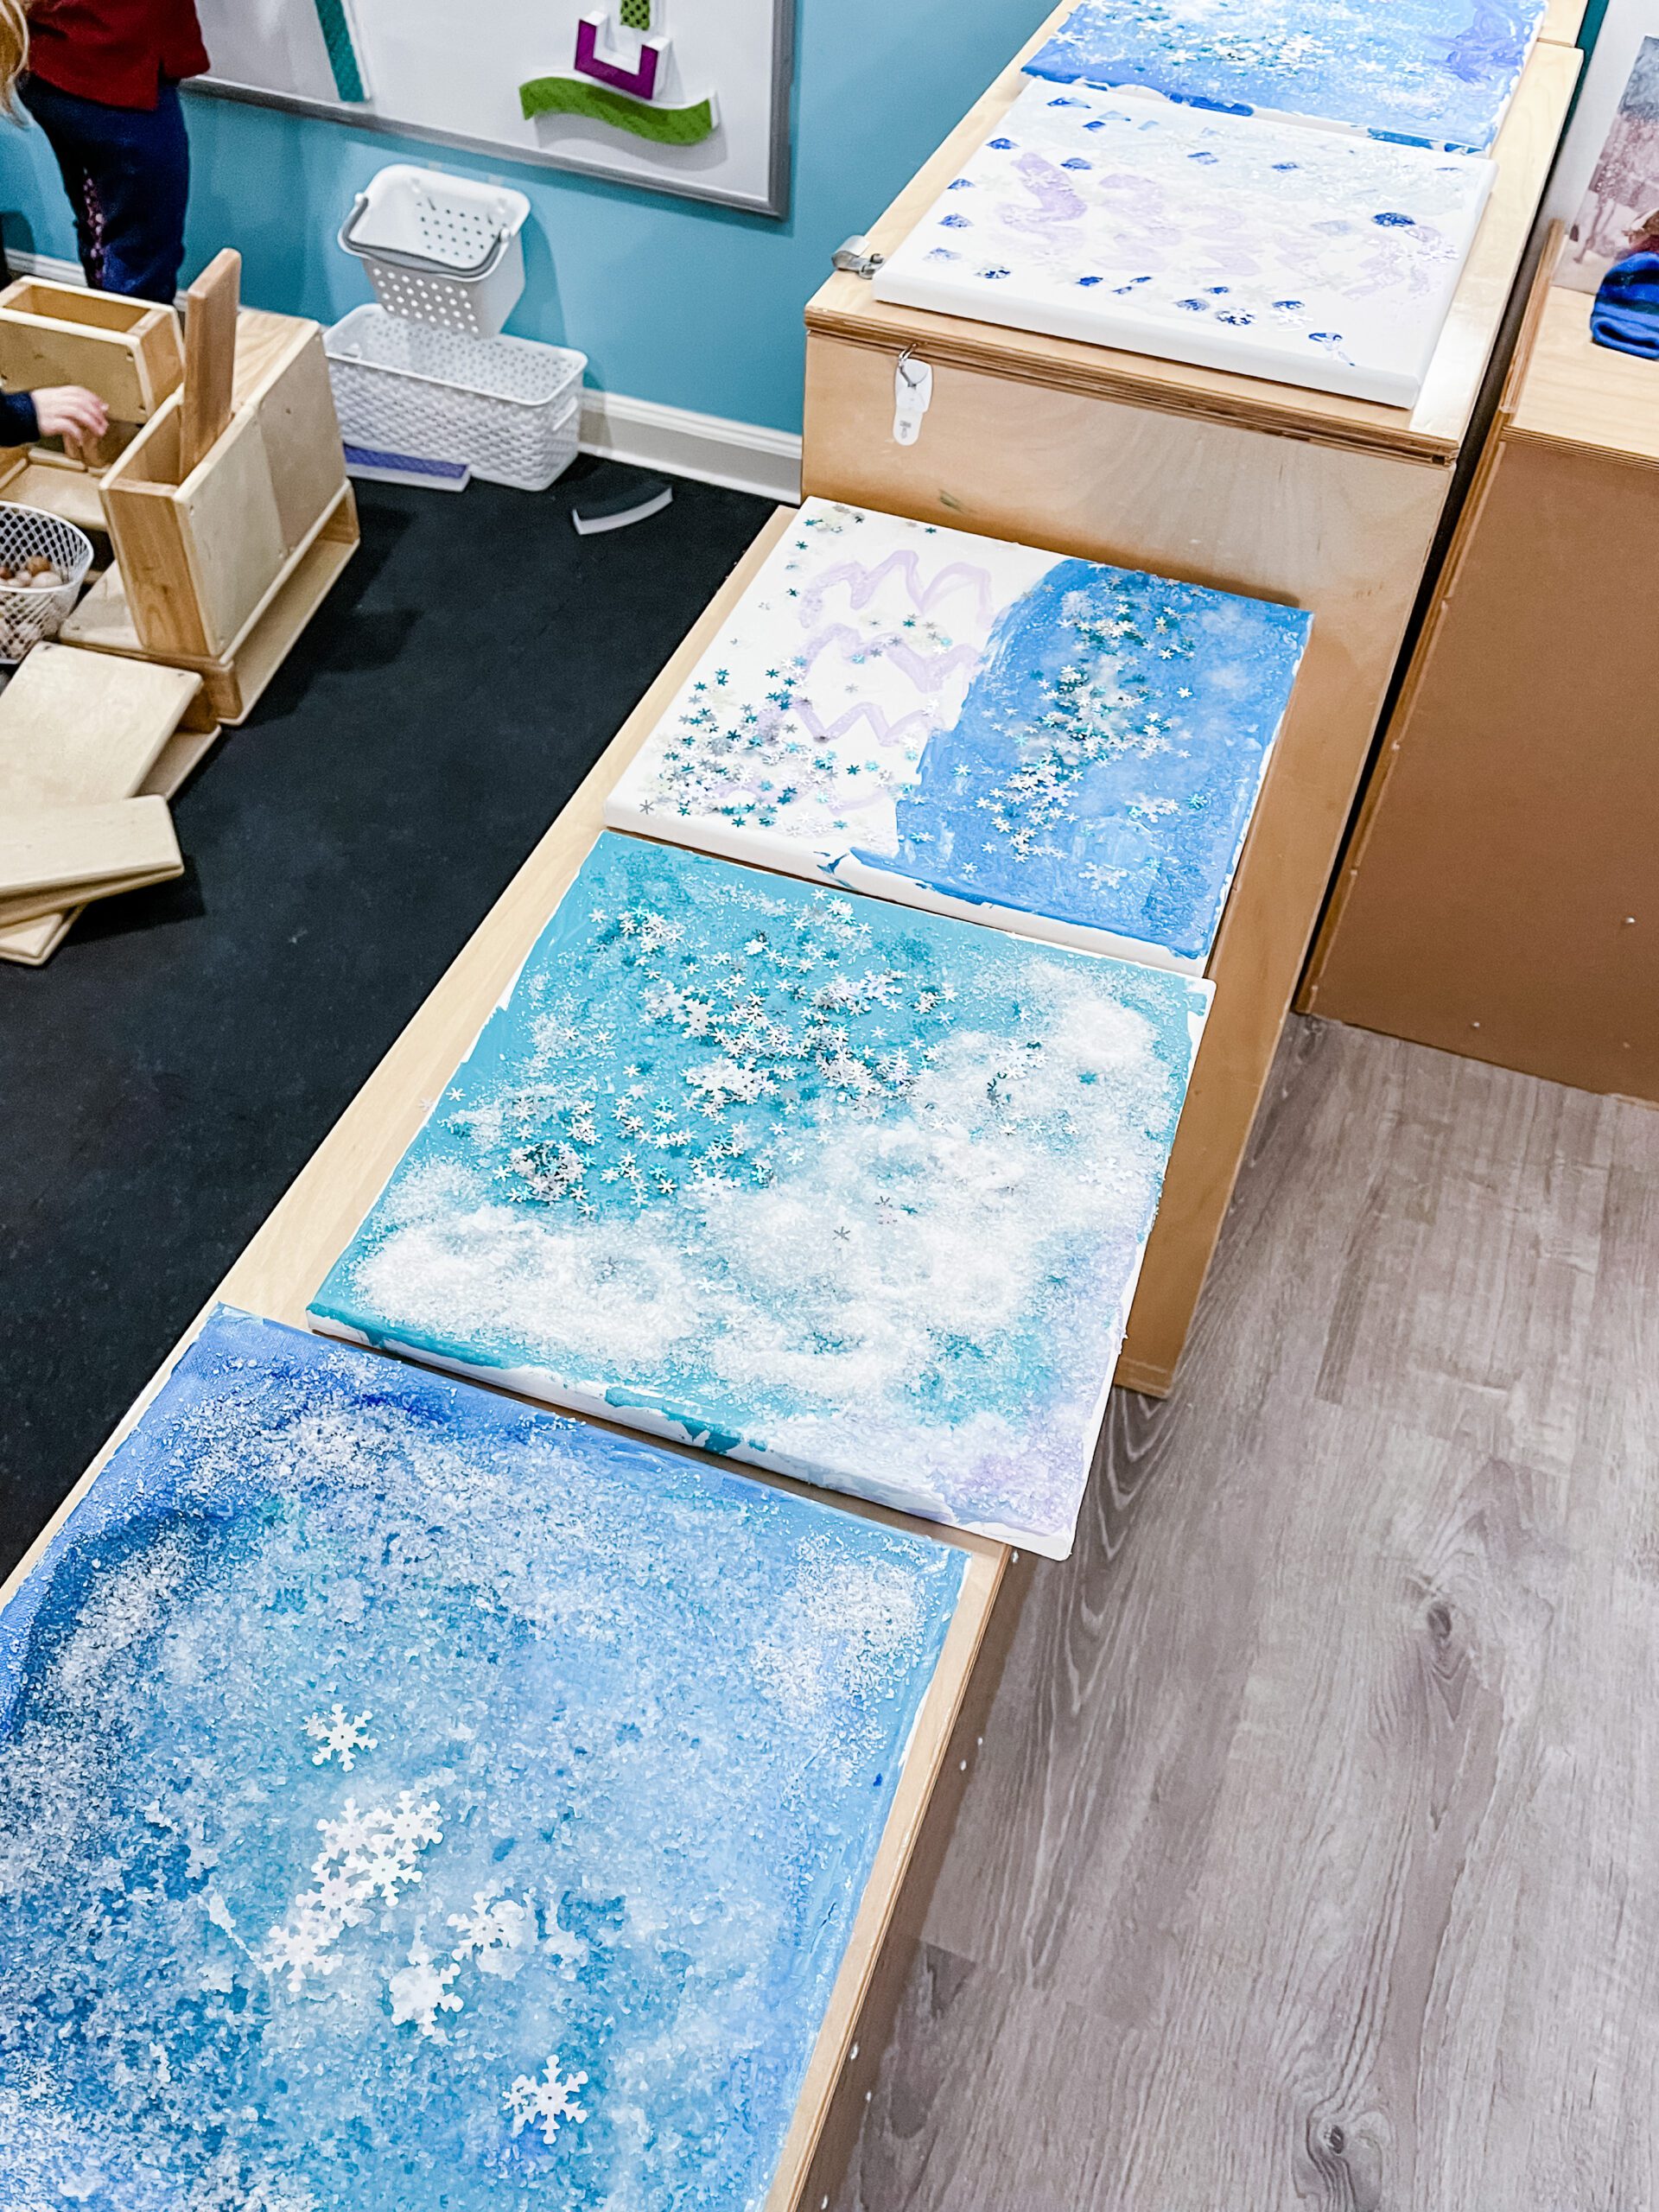
Once the supplies have been set out, invite the students to paint their canvas. The idea is to create a winter backdrop, so pastel colors, along with varying shades of blue, work well for this step.
Again, the process is the goal, so there is no “right” way to do this step. Students may choose to swirl their colors together or leave areas of the canvas white. That is all perfectly fine! Allowing them the liberty to create their unique works of art is part of the fun.
Let It Go…Dry Overnight
Once the canvases have been covered to the student’s liking, allow them to completely dry (overnight works best) before moving on to the next step. Sometimes, the paint is thick, which adds great texture to the finished product, but it also means that it will need more time to dry.
Finishing Touches
After the paint is dry, students can decorate their canvas with salt and glitter.
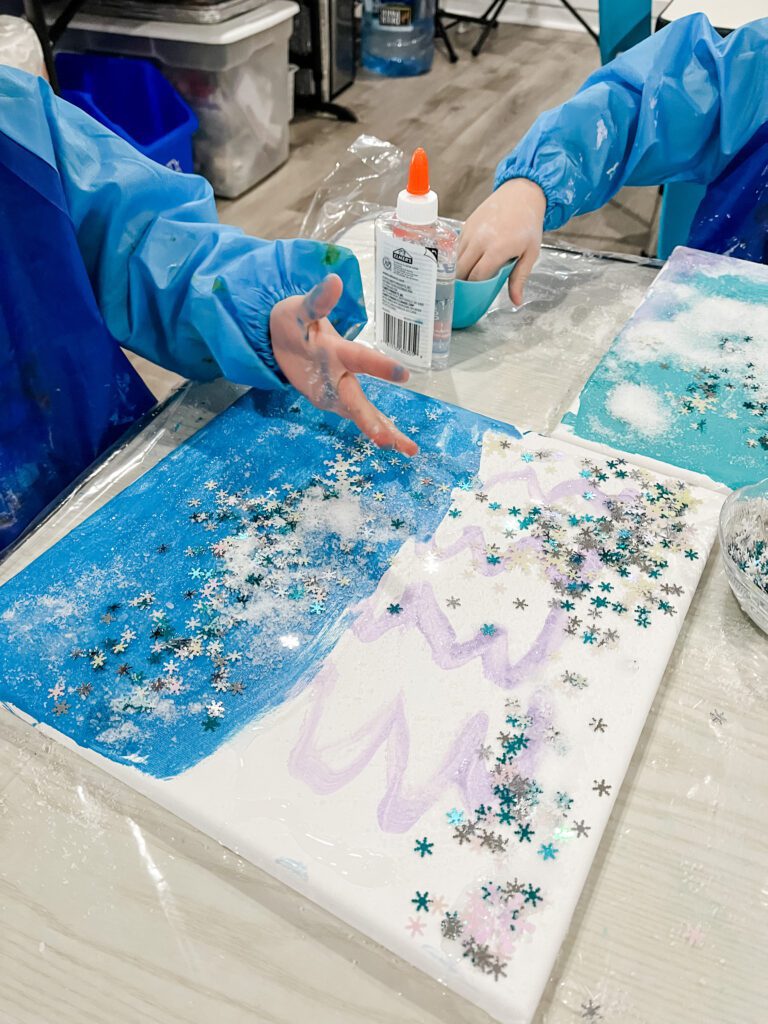
It may be easiest to put the clear glue on top of the painting before adding the embellishments, but other times students prefer to sprinkle the salt and glitter, then add glue and mix it afterward. The choice is up to you!
No matter the method, exploring the materials and interacting in the process will create some truly unique masterpieces.


Looking for More Process Art Ideas?
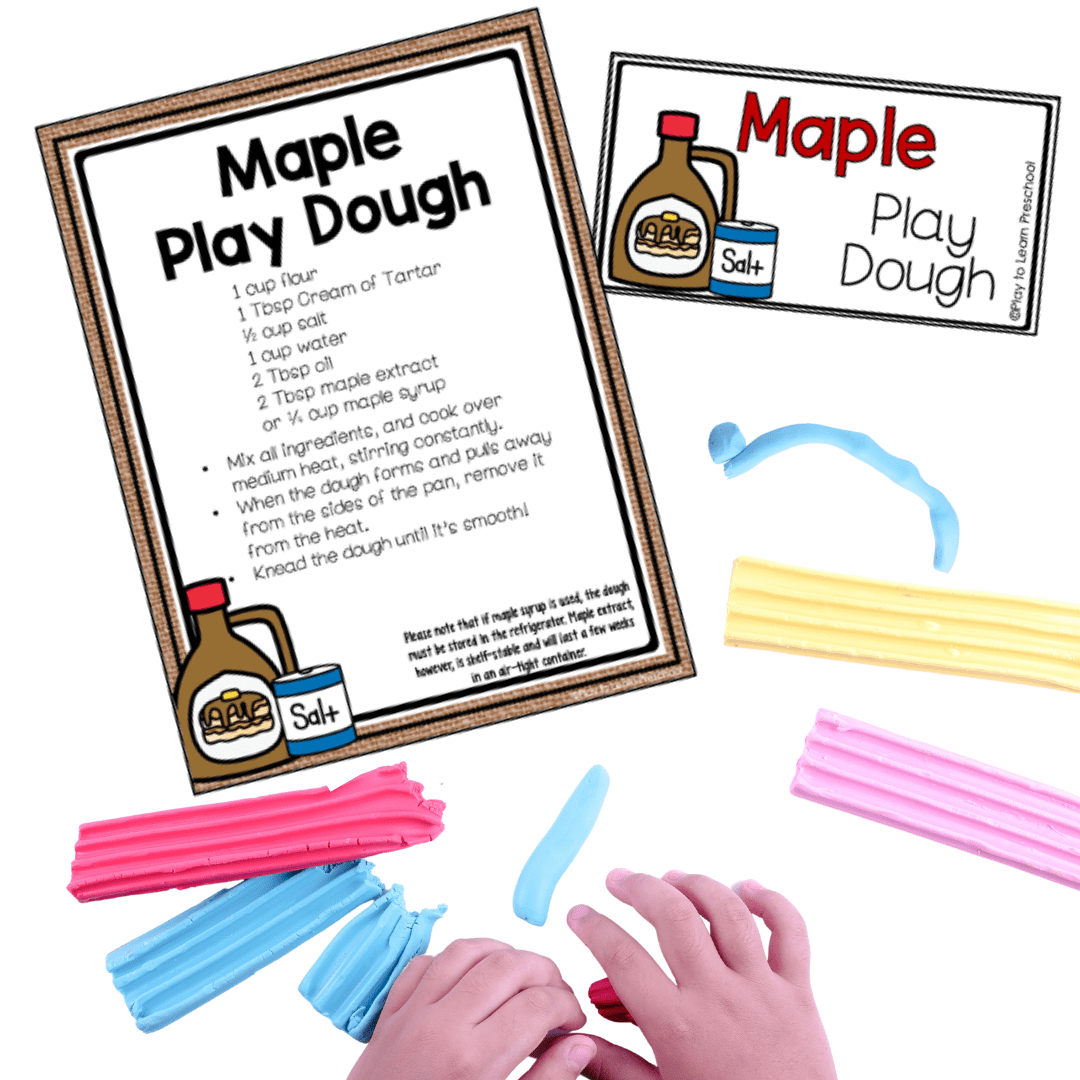
FREE Play Dough Recipe Book!
Play Dough is the perfect tool for developing the hand strength and fine motor muscles necessary before young children are able to write!
After you subscribe, you will be redirected to the FREE Play Dough Book. We respect your privacy. Unsubscribe at any time.