Looking for an interesting way to build up interest in the art center? Try adding a new art “tool” – the drill! Drill painting is a sure way to bring a sense of novelty to the art center and tempt even the most reluctant artist. This interesting approach also builds arm strength and control while also adding plenty of giggles!

Why Drill Painting?
Students are intrigued any time there is a new tool introduced to the art center, but drill painting is something special! Children use toy drills from the classroom’s construction tools set, each with a paintbrush fastened on with a hearty helping of electrical tape. The drill encourages students to use their whole arm while painting, while the added weight increases their strength and control of those arm muscles.
Drill painting offers opportunities for children to:
- Experiment using different motions and speeds
- Explore cause-and-effect as they see how their actions change the artwork
- Use new vocabulary to describe what is happening
- Share discoveries
- Problem-solve with their friends
Every swipe, swirl, and splatter adds to the unique art. Students loved this new approach! Plan on creating a waitlist for the children as everyone will want a turn.
Materials Needed
Preparing the art center with inviting materials sets the stage for success. For drill painting, organized supplies and a protected work area can help reduce some of the messiness that is inevitable in a preschool art center. These items help make the drill painting experience both fun and safe for young artists.
- Toy battery-operated drills
- Paintbrushes
- Electrical tape
- Washable paint
- Easel or vertical painting surface
- Smocks
- Cups for paint
- Paper or poster board
How to Set Up Drill Painting

- Use electrical tape to attach a paintbrush to the end of each drill toy. Make sure it feels secure and will not wobble during use.
- Set up the preschool art center with an easel, large sheets of paper, and cups of washable paint within easy reach.
- Show students how to dip the brush into the pain, then gently squeeze the drill’s trigger to spin the brush across the paper.
- Remind children to take turns and talk about the sounds, motions, and patterns they notice as they paint.
“What happens if we turn the drill to move in the other direction? “
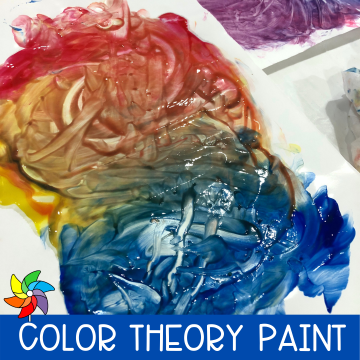
What do you notice about how the colors mix together?“
Inviting Children to Explore
Drill painting is one of those activities that creates a real buzz in the preschool art center. Introduce it with a sense of excitement and a quick demonstration, then let the children try it themselves. Encourage conversation about colors, shapes, and patterns they see, and celebrate each child’s individual process.
Tips for a Successful Preschool Art Center

No matter what art supplies are available, these tips apply for creating a successful art center.
- Rotate materials regularly to keep interest high.
- Cover the easel with a plastic shower curtain liner for easy cleanup.
- Support independence by showing students how to set up and clean up their workspace.
- Focus on the process, not the finished product. Drill painting – and using other art tools – is all about experimenting and discovering something new.
Adding drill painting to the preschool art center is a simple way to bring fresh energy and excitement to the classroom. When children are given new tools and open-ended materials, they develop important skills while making memories they will not soon forget. Give it a try today!