Squeegee art is process art in the purest form. There’s no pre-cut, pre-made, or cookie-cutter style when a squeegee is involved! This simple process art project is a fantastic way to have students feel immediately successful with their art while having fun exploring a different painting method. Squeegee art is fun and will keep students returning to the art table for more!

Process Art as a Learning Opportunity
When working with students, teachers can show them how to research and think through a process by breaking a problem into smaller parts, asking “what if?” questions, and trying out different ideas. Here are some questions teachers might ask:
- Why did you choose these colors?
- What are you learning about this material?
- What do you want to happen when you do that?
- What is it like working with this material with your friends?
- How does working with this material make you feel?
Asking questions like this helps students learn more deeply when they are creating, and having the art helps them express things that they might not be able to put into words quite yet.
Squeegee Art Materials
Squeegee art doesn’t require much material or preparation. First, protect the work surface with a disposable shower curtain or other method. Next, put on those art smocks and get to work!
Materials Needed:
- Tempera Paint
- Small squirt bottles
- Squeegees (The ones pictured are from IKEA for $2 apiece!)
- Paper
- Tape (to secure the paper to the table if needed)
- Baby wipes to clean the squeegees between uses
Check out this Resource from my Shop!
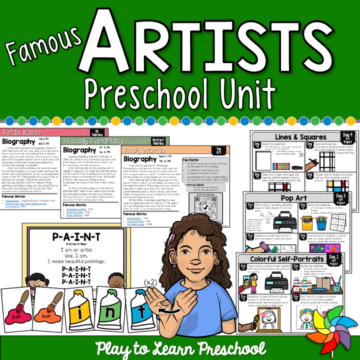
Famous Artists Preschool Unit
$12.00Watch your students’ creativity abound with this comprehensive Famous Artists Unit for preschoolers. The unit includes complete lesson plans for 10 days of circle time, as well as additional literacy and math centers. All of the planning is done for you!
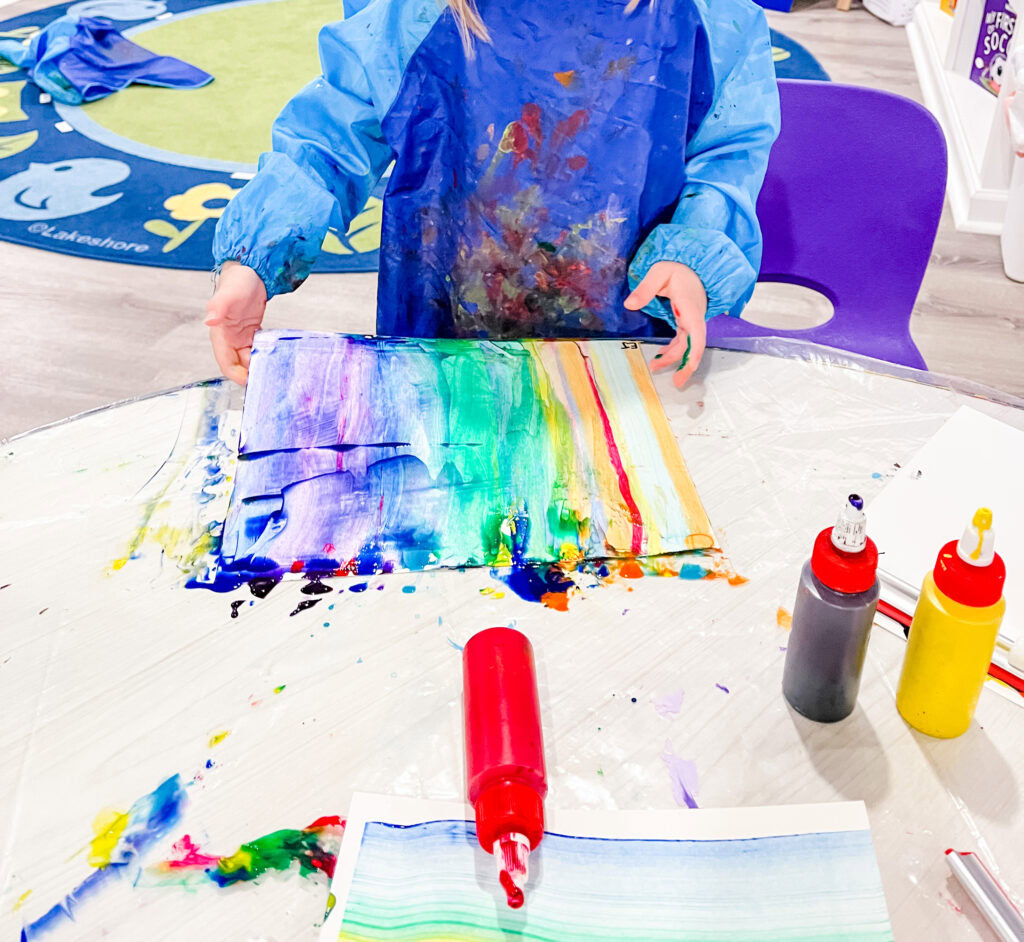
Squeegee Art Process
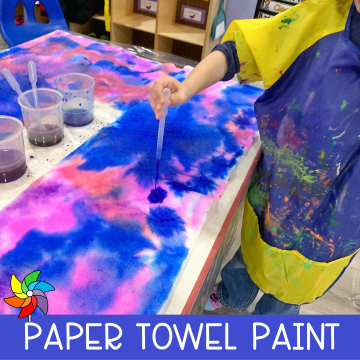
This art project is simple, and every student walks away feeling like a success. First, students drip little – or sometimes huge – dots of paint at the top end of their papers. Next, they use the squeegee to drag the paint down the paper. Students can move the squeegee in a straight line, making waves, zigzags, or other motions to add variety. After painting, the students easily clean the squeegee with a baby wipe and start fresh, or they reuse the same squeegee to make duplicate art.


Process Art – Setting up for Success
Setting up a process art center isn’t just about having a variety of materials available with no intent. It’s important to keep three things in mind: Be intentional, be open-minded, and be ready to play! Here are some basic steps to setting up a process art center:
- Start with a base for the artwork. Paper, a piece of cardboard, or some other “main piece” for students to center the project on. For this project, it’s the paper.
- A medium – or material that the students will work with to create their artwork. This could be paints, clay, crayons, or loose parts. Paint is the medium in this project.
- Tools: These include paintbrushes, squirt bottles, rollers, stampers, and, yes, in this instance, squeegees!
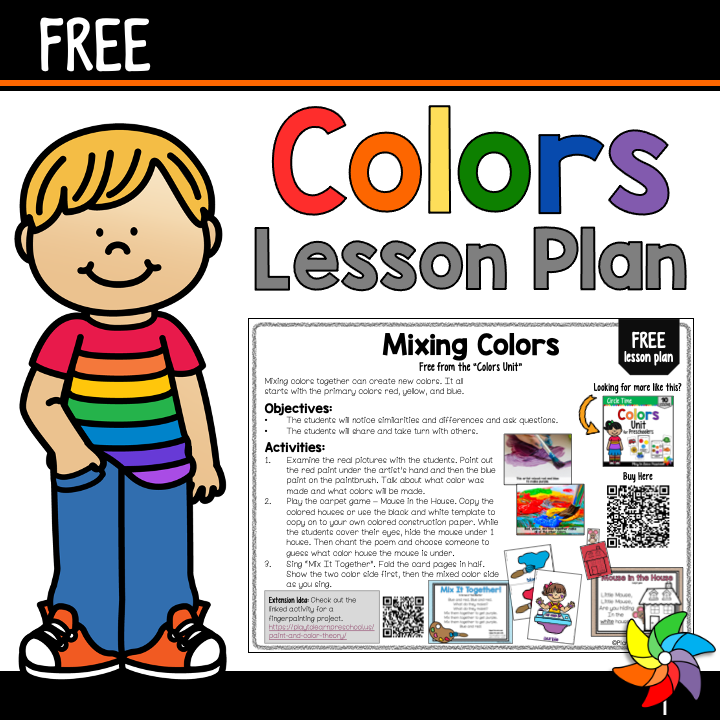
Free Colors Activity
Unlock a FREE Preschool Colors Lesson Plan!
After you subscribe, you will be redirected to the FREE Colors Lesson Plan. We respect your privacy. Unsubscribe at any time.
No matter the initial plan, process art is a fantastic way for every student to feel successful and express ideas about themselves. Be prepared for students to explore and take the art in unexpected directions – and don’t forget to enjoy making art alongside them!