Golf ball art is a delightful and engaging process art activity that combines the joy of painting with the excitement of movement. This unique project allows young children to explore colors, textures, and patterns in a playful and hands-on way. Perfect for little artists with big imaginations, golf ball art is easy to set up and provides endless opportunities for experimentation and creativity.

Process Art isn’t just Par for the Course
Process art is important in preschool because it focuses on creativity and exploration instead of the final result. It lets young children play with materials and ideas, helping them develop their curiosity and imagination. Students develop important skills like problem-solving, fine motor skills, and hand-eye coordination by working on various process art projects. Unlike “craft” style art projects, which often have specific instructions and expected outcomes, process art allows children to express themselves freely and make their own creative choices. This type of art also helps children express their thoughts and feelings, boosting their emotional growth. Process art encourages a love for learning and builds confidence, preparing them well for future learning.
More than just an Art Project
This golf ball art activity is more than just a fun activity. It’s a lesson in physics as students watch how the different slopes and angles move the ball and how the ball reacts when it strikes the wall of the container or another ball! It’s also a lesson in color theory as the colors blend and mix when the golf balls track through the different paint puddles. Students also practice gross and fine motor control as they use their muscles to tilt and move the bin in different ways.

Equipment for Golf Ball Art
No caddy is needed to set up for golf ball art. This process art activity does not require a lot of materials; with a little planning, it is very easy to set up and clean up. Start with:
- Golf balls – about a dozen, new or used, borrowed or inexpensive.
- Tempera paint – at least three colors
- Construction paper or sturdy paper
- Trays – boxes or inexpensive foil cooking pans work well too!
There are many kinds of golf balls out there. The traditional kind is hard and rather heavy. Unless there is a plan to use them on a golf course afterward, any discount brand is fine! There are also a variety of practice golf balls, including foam, solid plastic, and even some with holes in them. Adding different types of golf balls adds excitement and variety and can be a way to extend the activity.
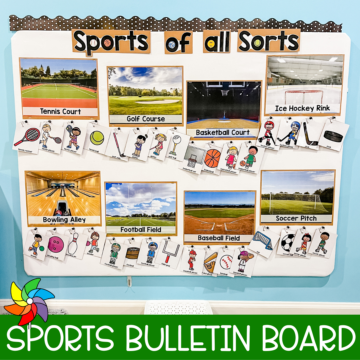
More Sports Fun!
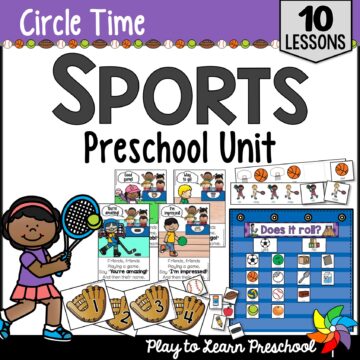
Sports Preschool Unit
$12.75Hit it out of the park with this complete SPORTS preschool unit. Everything is included! Print the detailed daily lesson plans, the hands-on games and activities, and the additional literacy and math centers.
Teeing Up
First, prep the workspace. An inexpensive shower curtain or plastic tablecloth is a great way to protect the table from paint spills and stains. Don’t forget to bring out the paint smocks as well. Next, put out the trays and golf balls. A small container for the golf balls is recommended, as they roll very easily. Remember to put each student’s name on the back of their paper before putting it into the trays.
Tape a piece of paper into the tray, then allow students to choose where to put the puddles of paint. For older students, consider offering the paint in smaller containers. This gives them independent control over where the paint goes, how much of each color goes on the paper, and so on.
Let’s Roll!

Start by adding one ball to the tray. Encourage students to experiment with rolling the ball around in the tray. Challenge them to roll through the different puddles of paint. Don’t forget to practice those conversation skills and ask questions about the work. Invite students to try to make the ball move at different speeds by tilting the tray at different angles. Next, try different motions, such as zigzag and circular.


Once students use one golf ball in the tray, allow them to experiment by adding two (or more) to the tray to see if there are different results. Ask them what happens when two balls collide, if they think the golf balls will stick together, and so on. If there are different types of golf balls available, allow them to repeat the project with the different styles.

Cleaning Up the Golf Ball Art
This is a project where the mess is (mostly) contained in the trays. Have a container of soapy water nearby to clean the golf balls off as students complete each painting. After the last child is finished, simply rinse off the golf balls for the next “round.” Rinse out the trays with soapy water, or recycle them if they are disposable. Finally, wipe down the tablecloth or shower curtain and put away the paint – all done!

Displaying the Golf Ball Art
One of the most beautiful parts about process art projects is that every piece is unique. Displaying the artwork on a wall or bulletin board is a way to instill confidence in the little artists. Make the display more attractive by putting the painted paper on a backing of a complimenting color. This creates a polished “frame” look. Add a name tag above each piece. Parents and students enjoy identifying their artwork even when the name is on the back.

If the artists are particularly prolific and create more art than the display space holds, repurpose some of the artwork into college material, cut it into letters for displays, or different shapes for decorations. Of course, ask the student to select their favorite pieces to take home first!