Kids, parents, and teachers all love seeing the progress made from the beginning of the school year to the end of the school year. This fun self-portrait art project is a great way to see each student’s progress, plus parents get a cute and heartwarming keepsake!

Materials Needed:
- Sharpies
- Card Stock
- Canvases
- Paint (Acrylic or Tempra)
- Brushes
- Mod Podge or another sealant
- Non-breakable mirrors (optional)

Getting Started
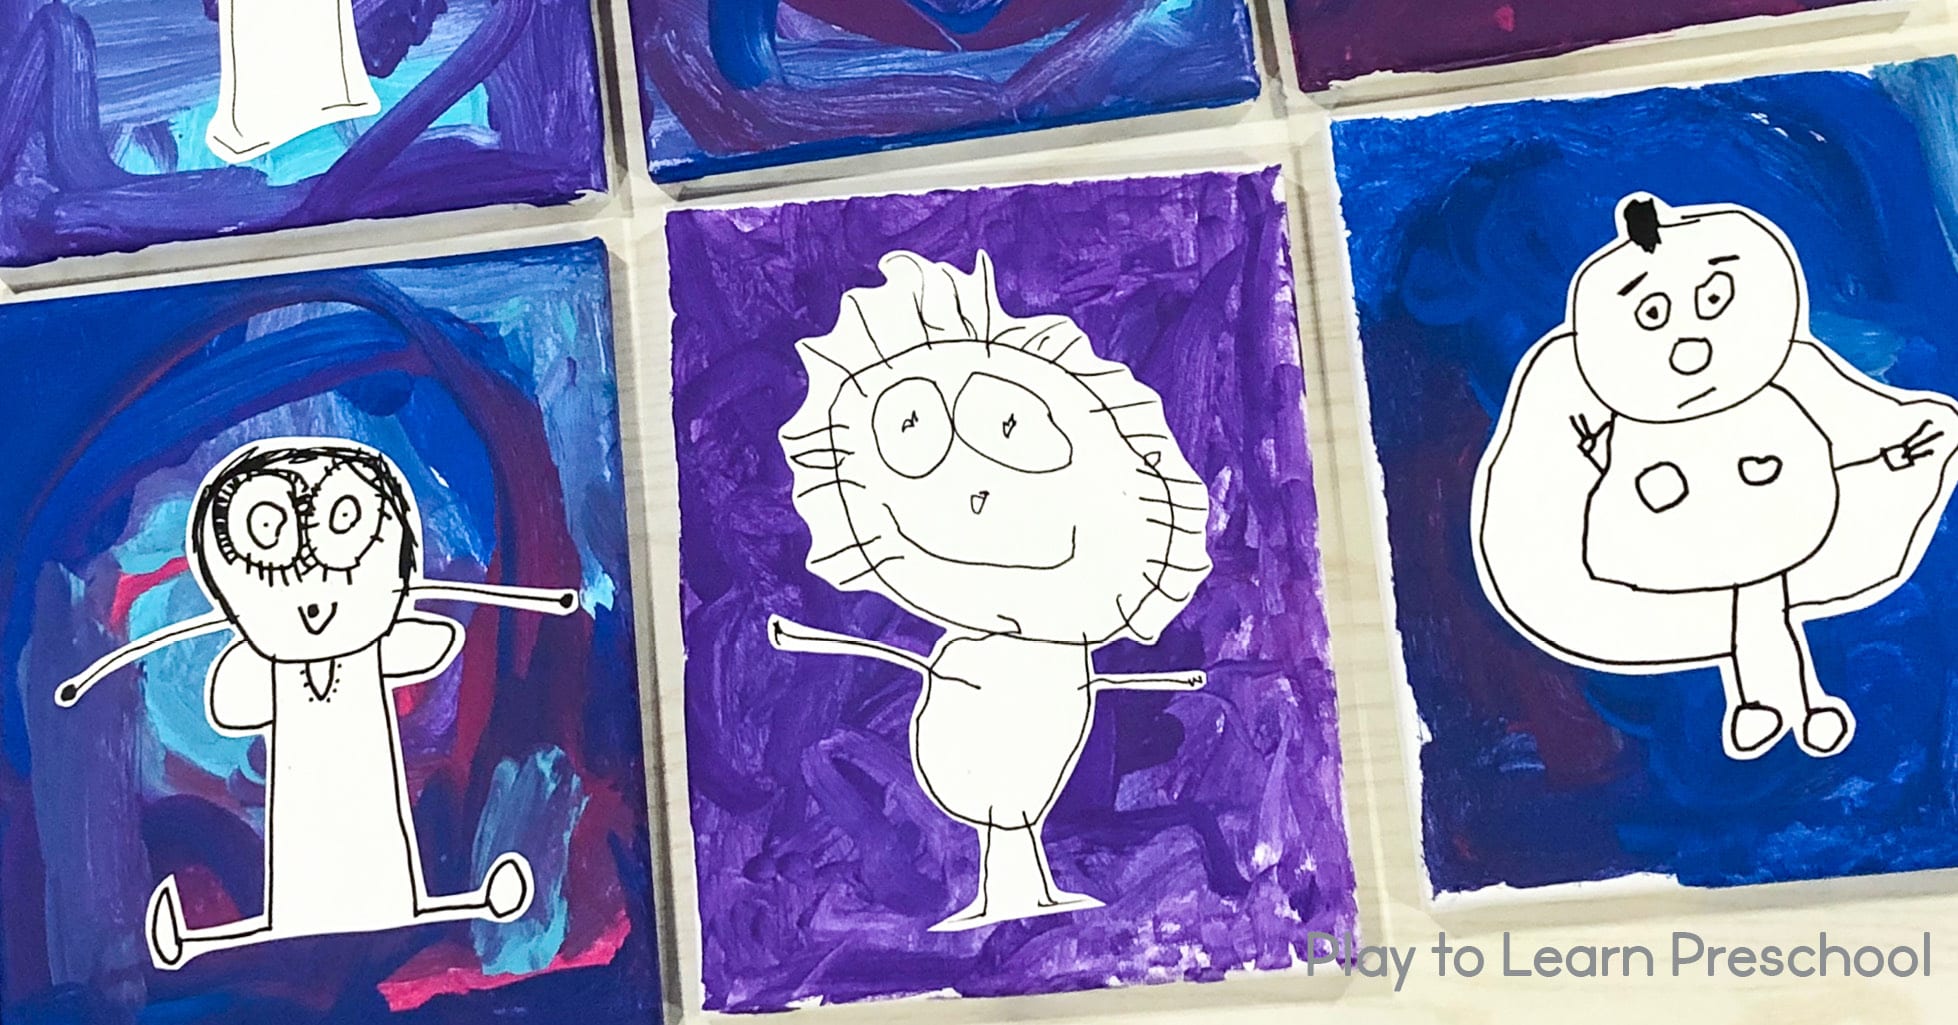
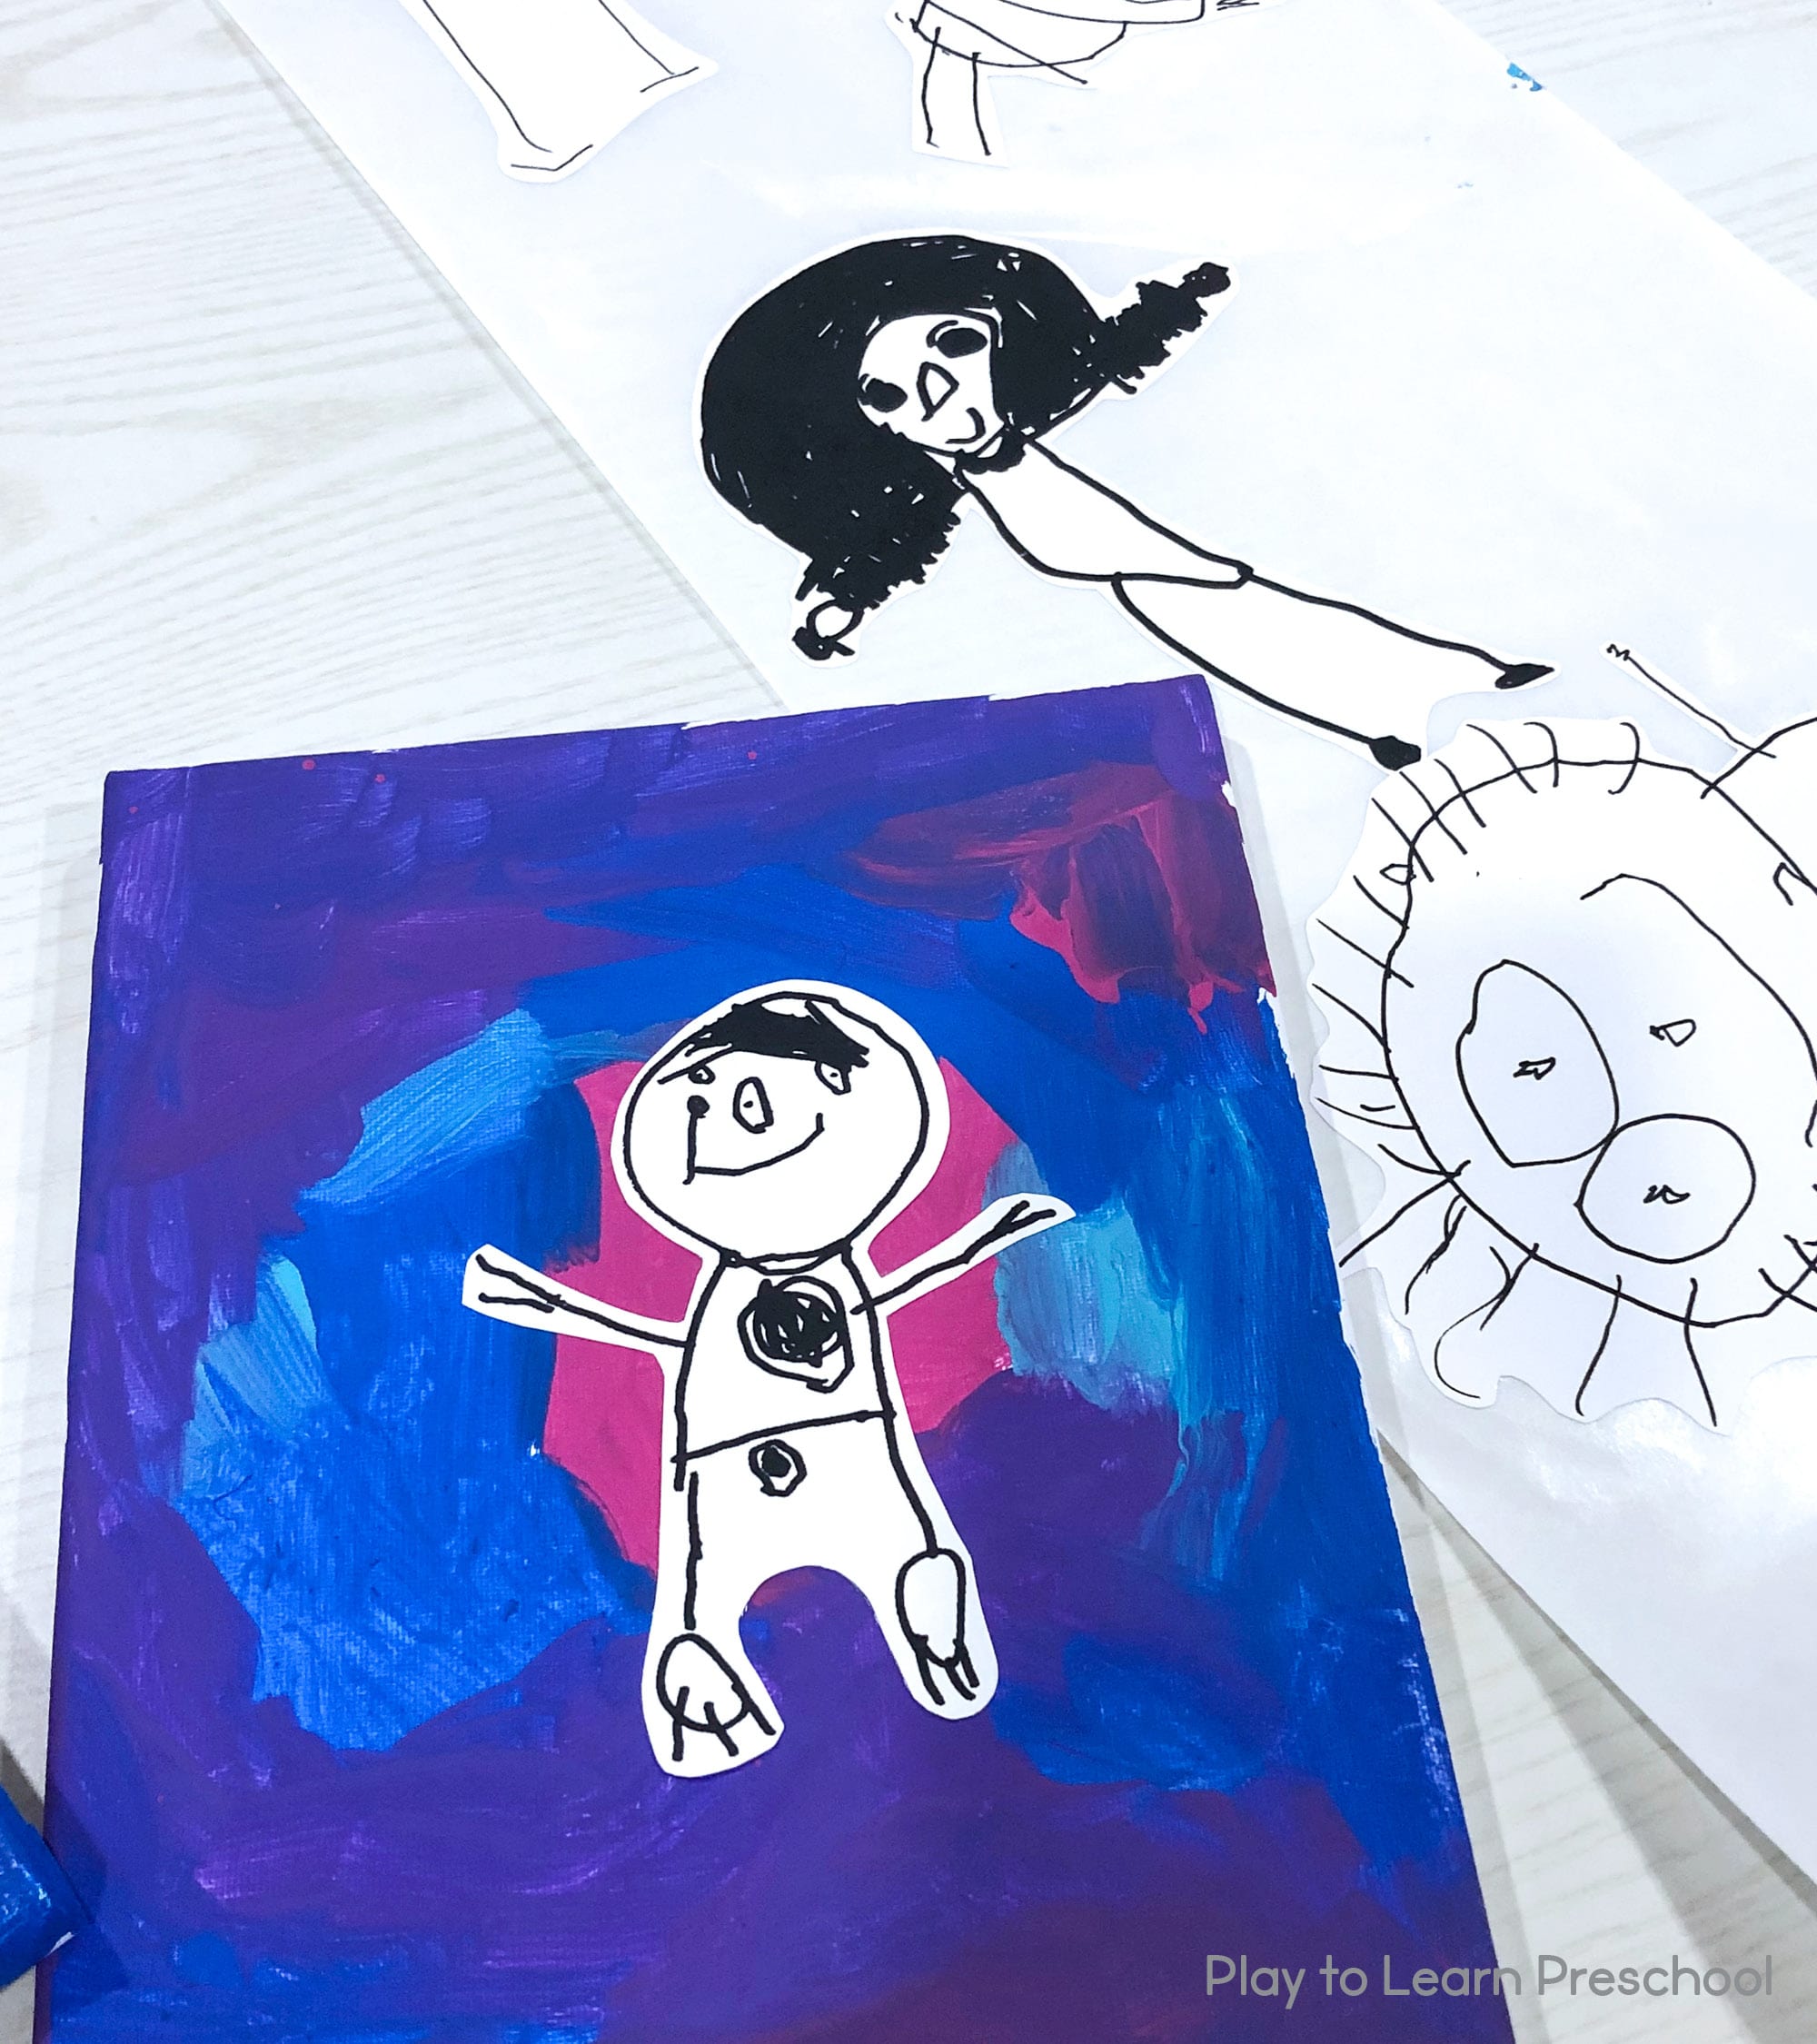
First, invite the students to draw a self-portrait on the card stock with a sharpie. The teacher cuts these out the original and lays them aside for now. TIP: Make a copy and save it. At the end of the year, revisit this project and compare the growth of the students’ fine motor skills!

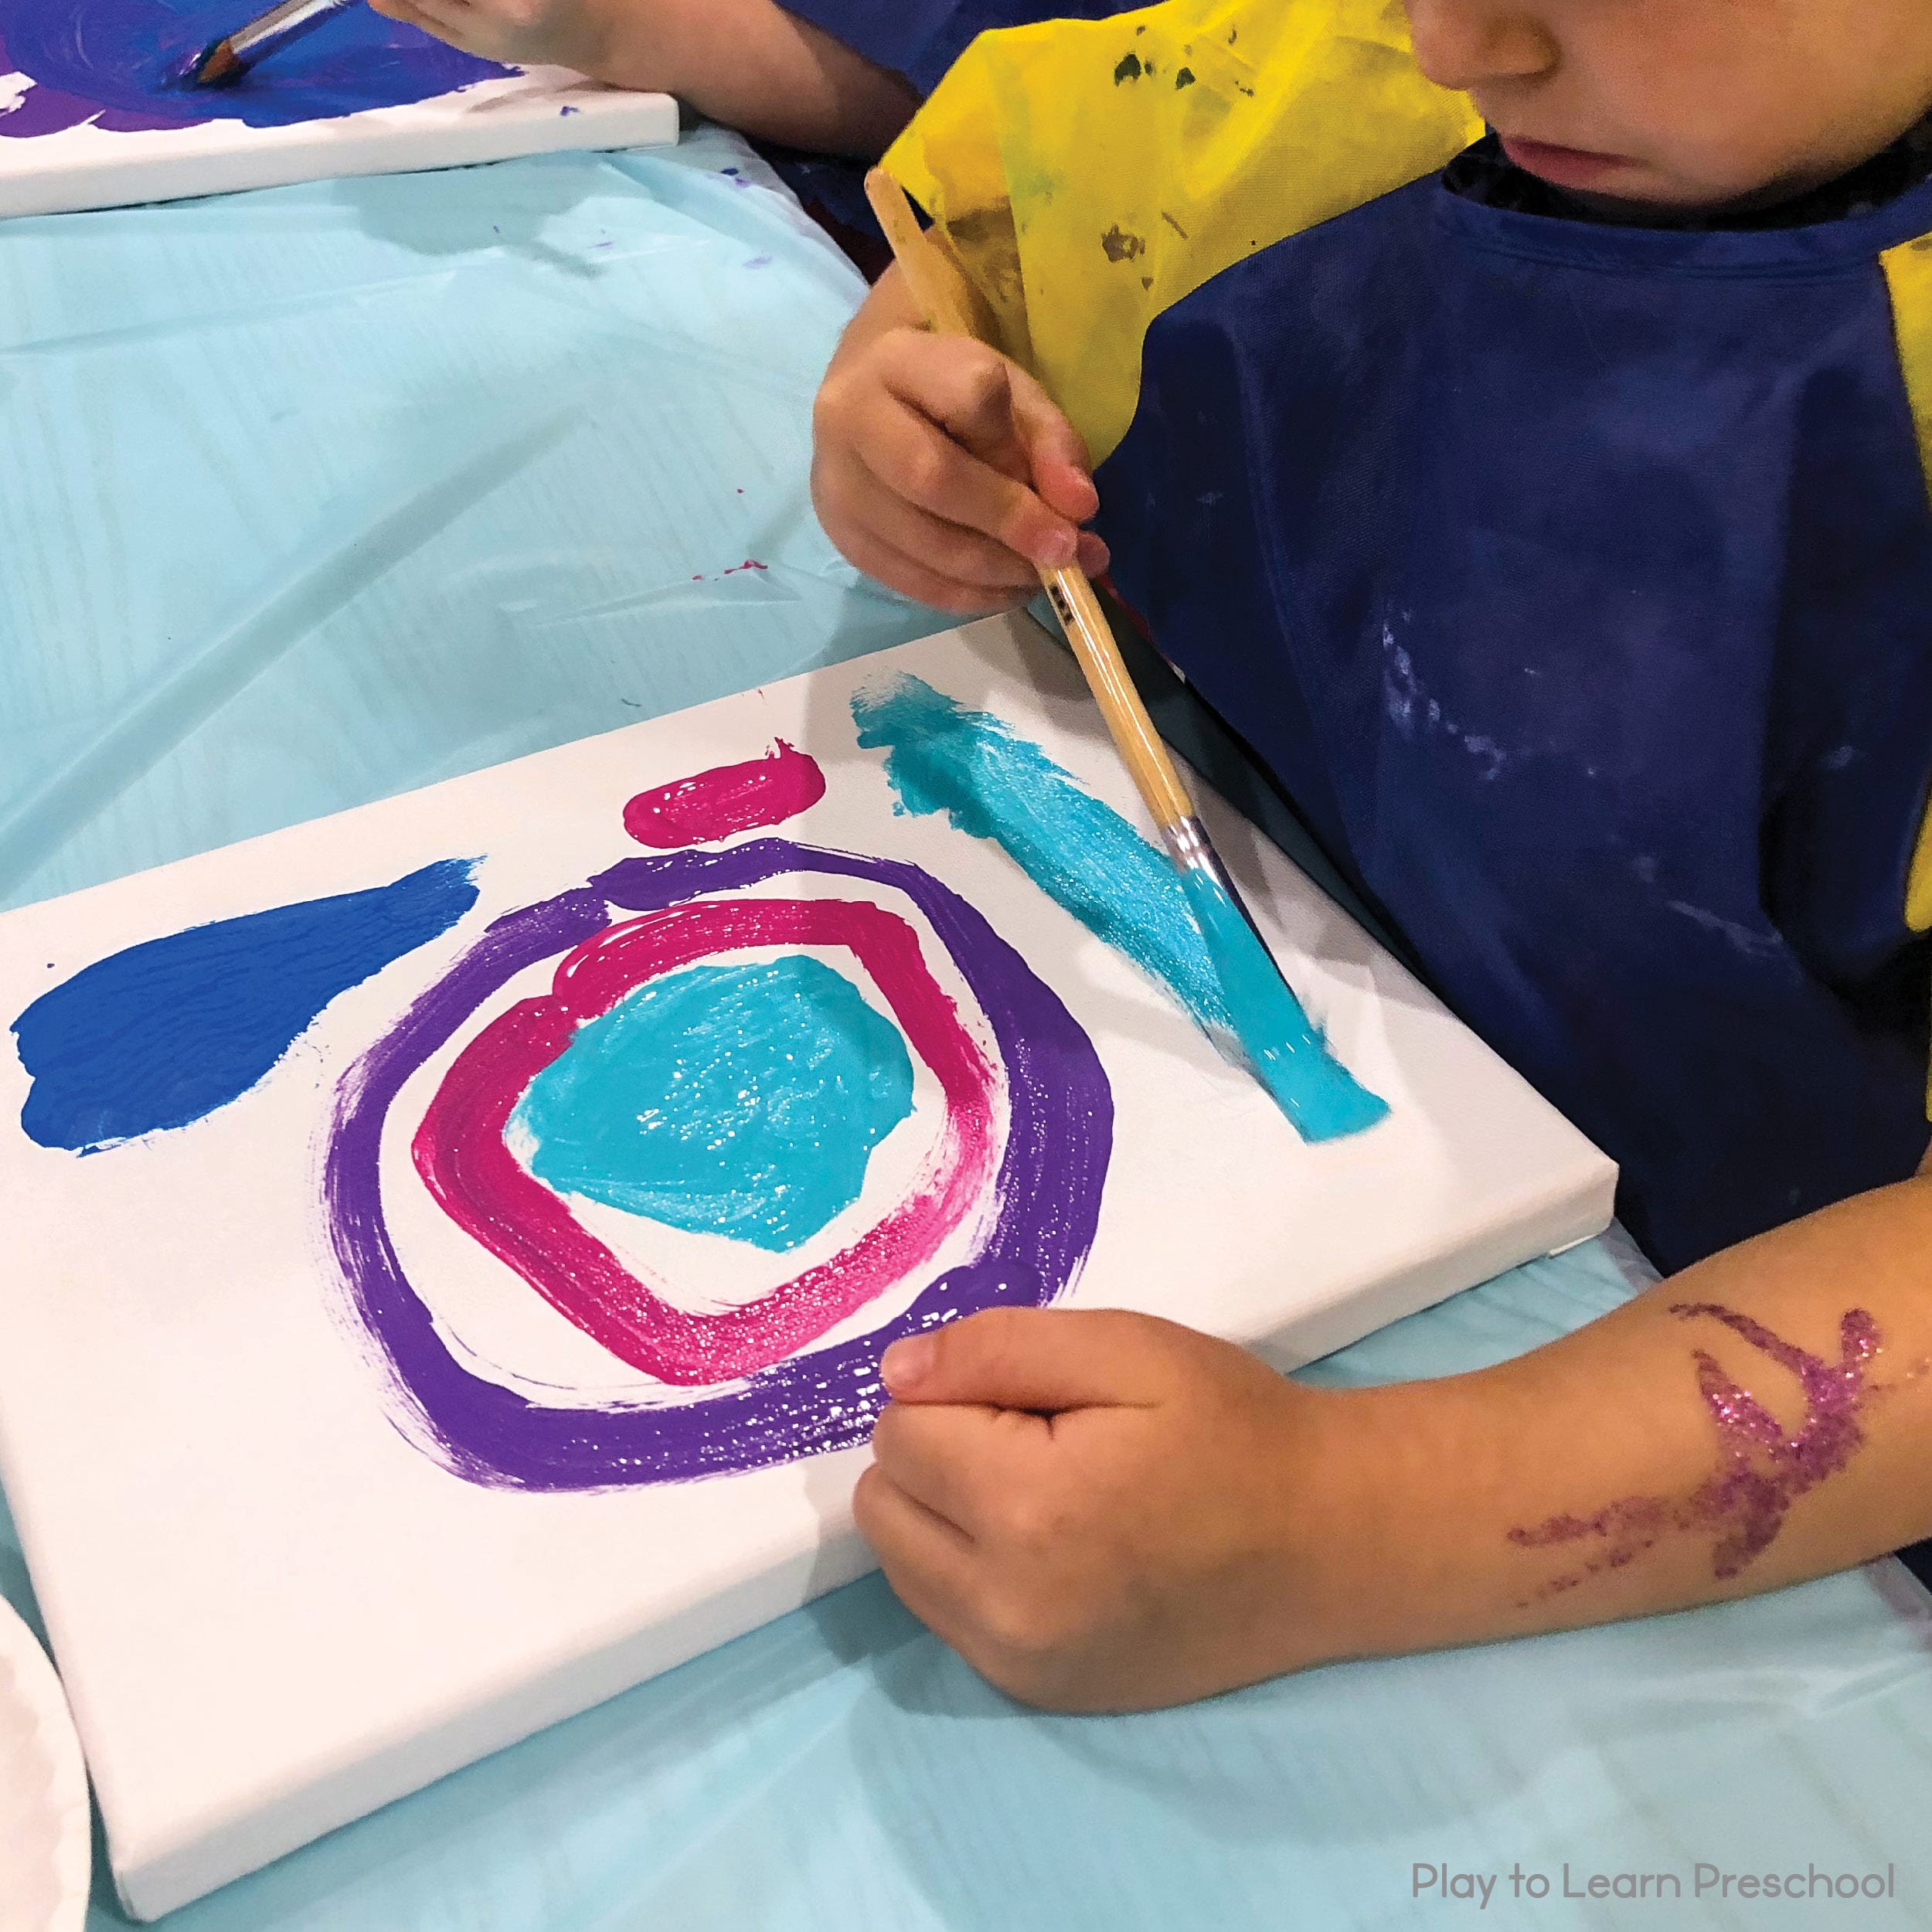
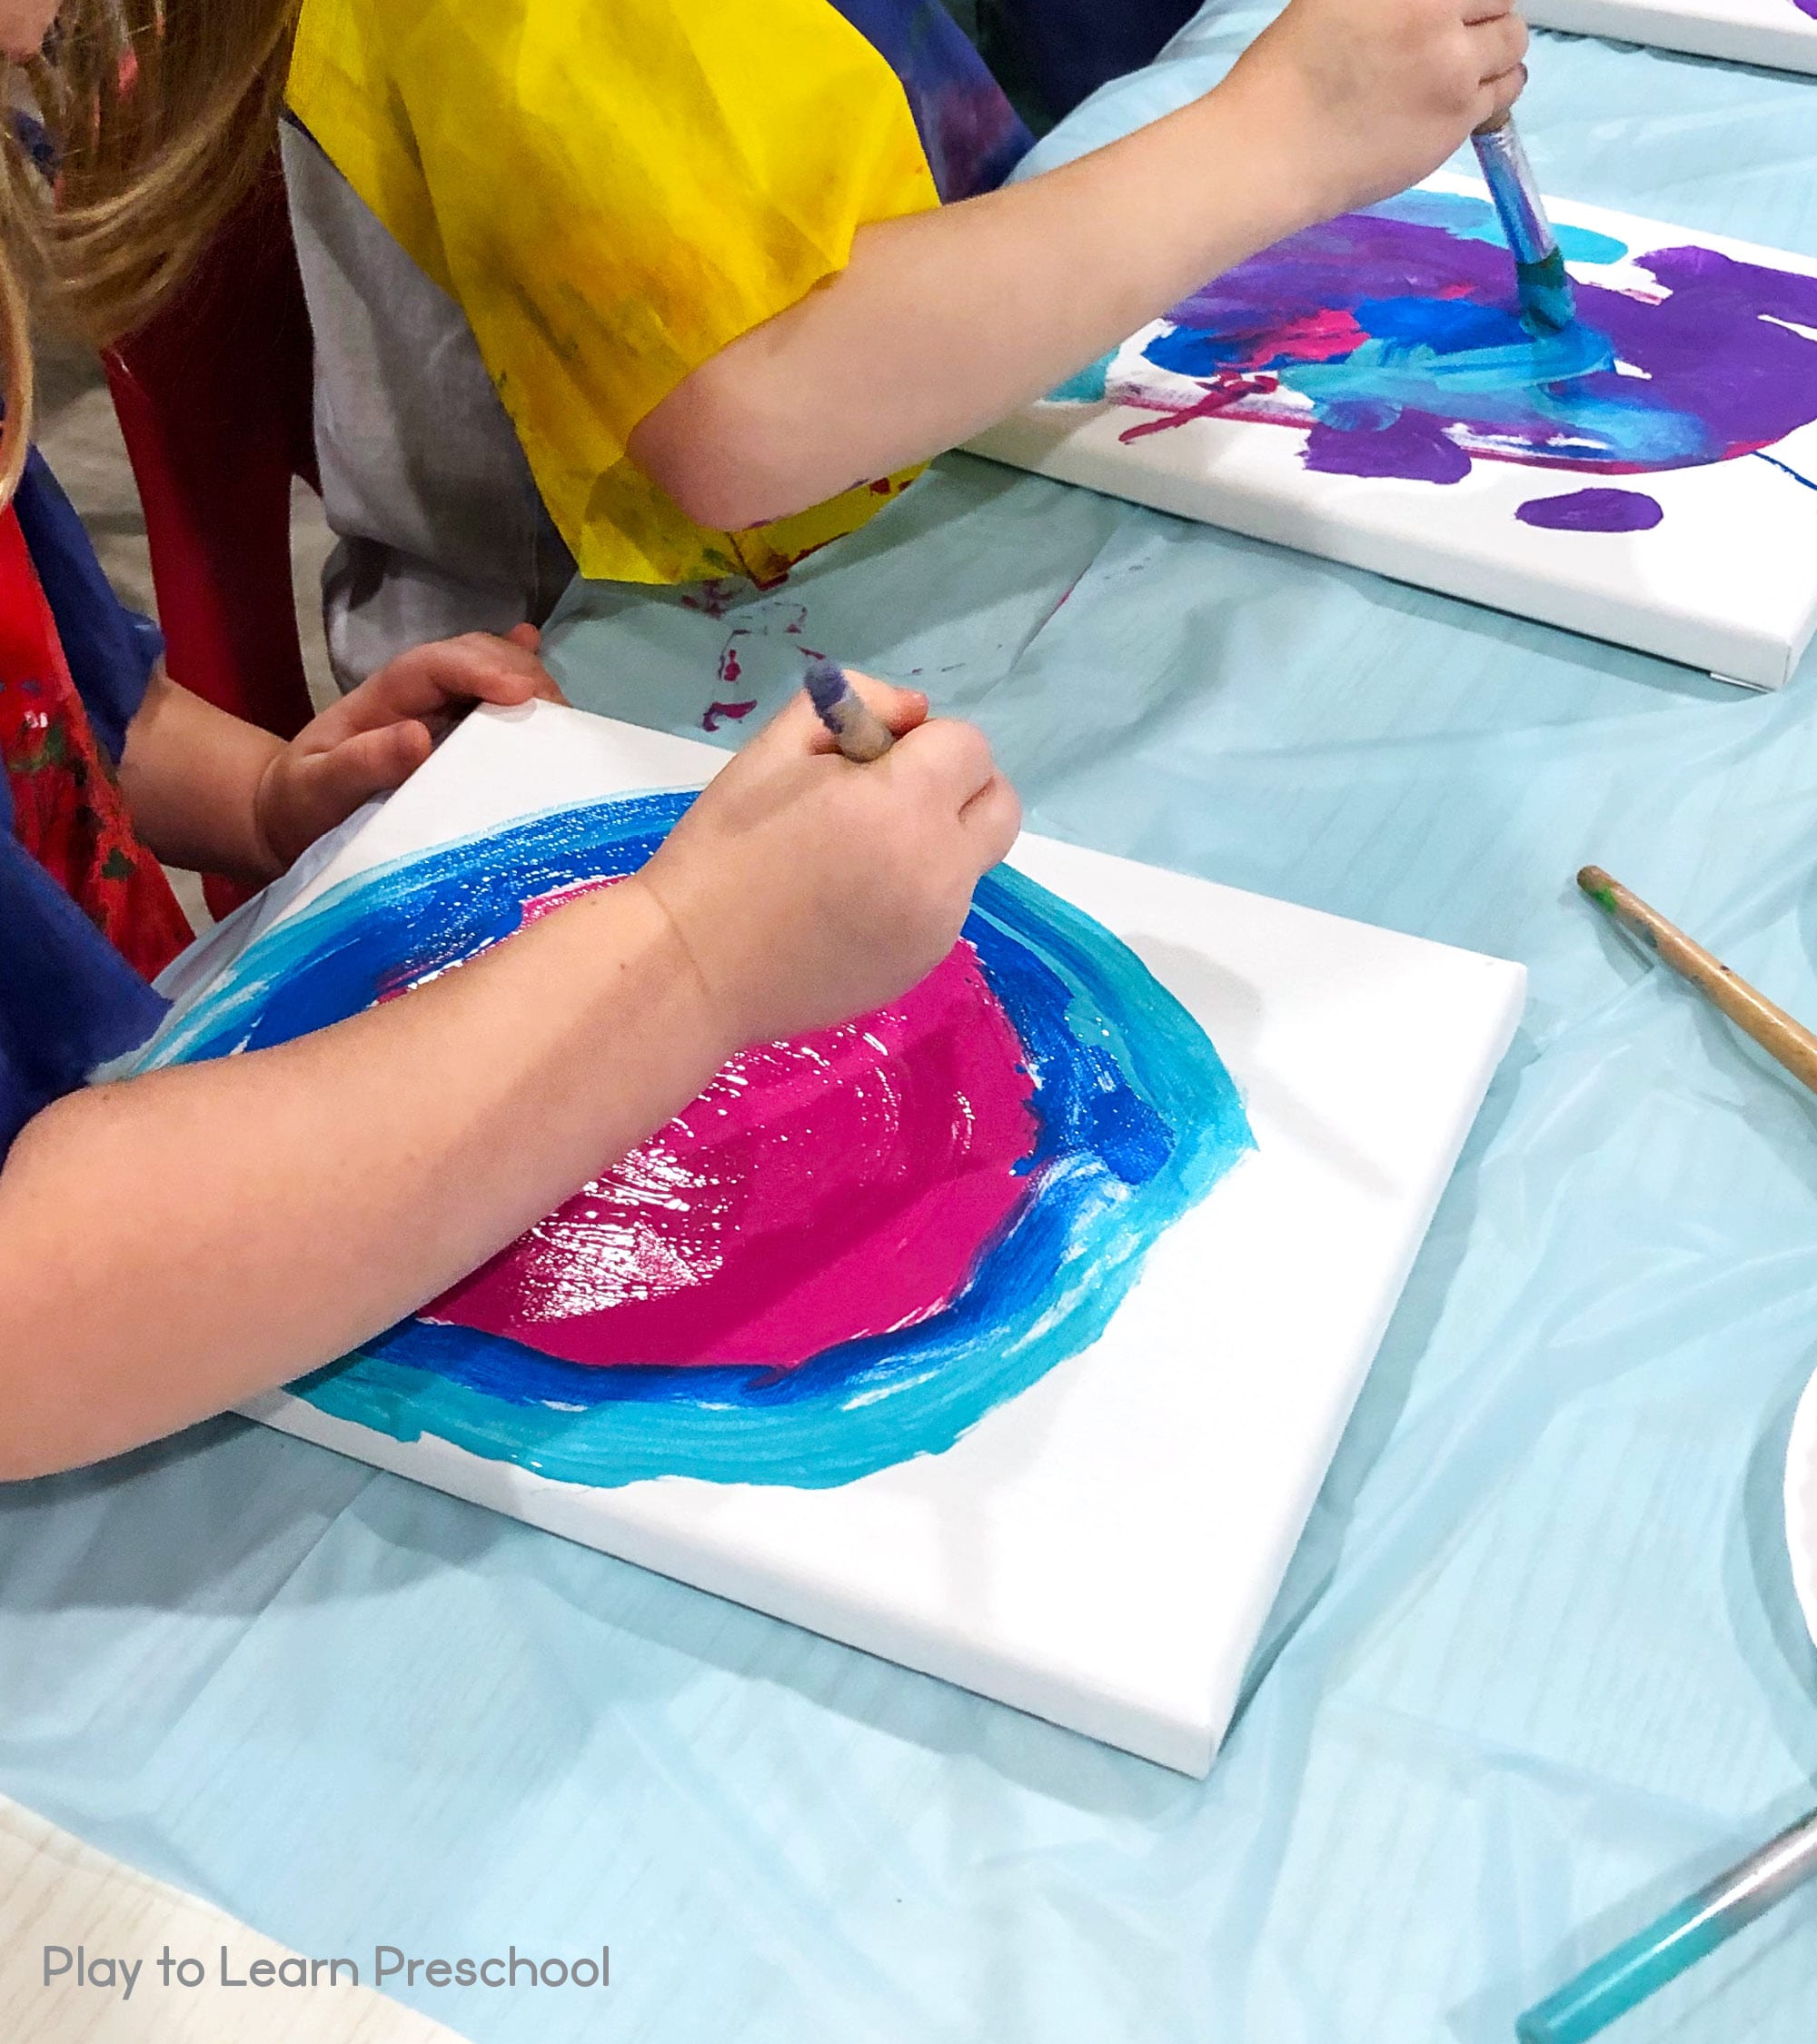
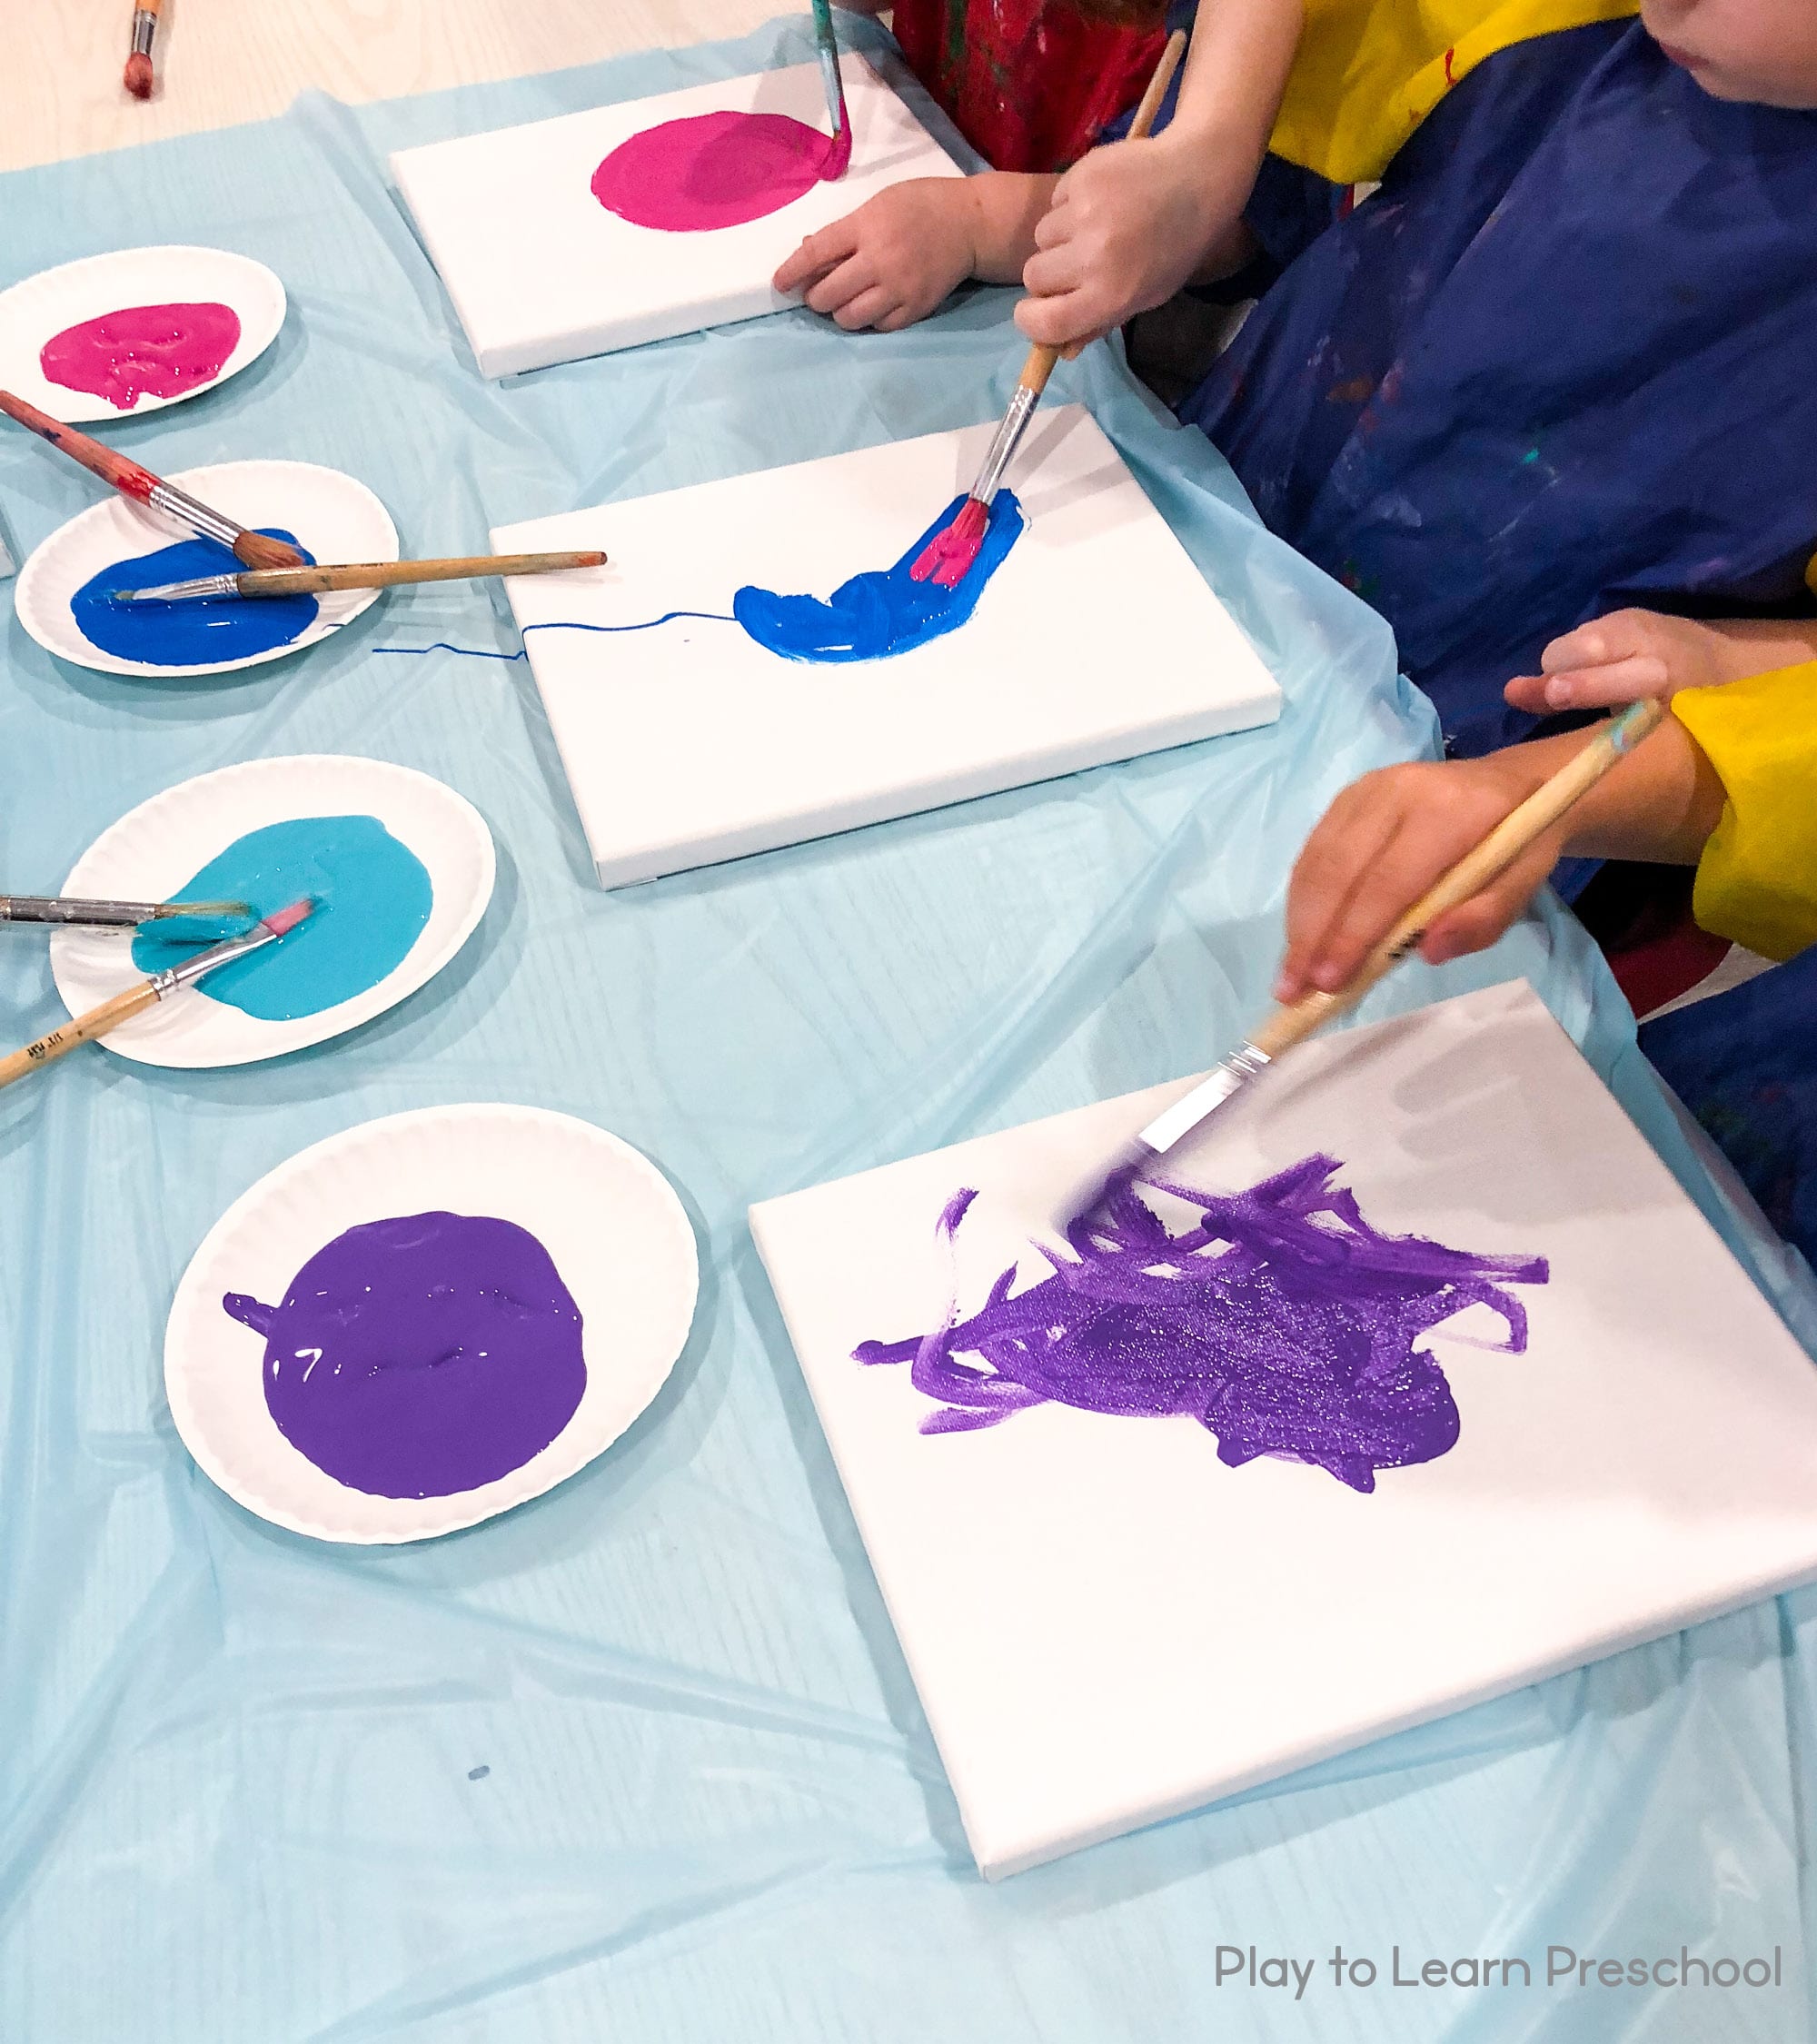
Time to Paint!
Next, have each student paint a canvas with acrylic or tempera paint. Encourage them to cover the entire canvas, including the sides.
The Teacher’s Step
Finally, the teacher glues the cut-out self-portrait to the dried canvas and then coats it with Mod Podge or another clear sealant. Let it dry, following the directions on the sealant.


So what are the kids learning from all this amazing art?
- Fine Motor Skills – drawing with the sharpies and painting with the brushes helps build the small muscles in the hands and is great practice for writing!
- Observation Skills – observing details closely, and separating the parts from the whole supports early literacy skills.
- Communication Development – children name their body parts and identify that they have the same as their friends, but maybe one has blue eyes while another has brown. One has curly hair while another has straight. Discussing these similarities and differences helps open up communication.
- Color Theory – while painting the canvas, what happens when they mix or swirl colors together?

The Stages of Drawing Development in Young Children
Children go through stages of development in art, much as they do for many other skills. Just as a child starts off by rolling over, then crawling, then walking, there are different steps in the development of every budding artist. At around age 3, children enter the “Pre-Schematic Stage.” This is when they move out of random scribbles and start to draw pictures that represent real items. The first step in this is typically a person, with a circle head and then two lines for legs. Just like tadpoles, the children’s drawings grow more and more features while they constantly refine their skill. Older preschoolers may enter the schematic stage, where they arrive at a “schema” or a definite way of portraying an object that reflects their active knowledge of a subject. A key part of this stage is that everything tends to sit on the same baseline in the drawing – perspective comes later.

The Final Step
Be sure to date the self-portraits on the back and revisit the project at the end of the year. When the students complete their end of the year self-portrait, bring out the copies and show them side by side to see how much their skills have improved!

“Every child is an artist. The problem is how to remain an artist once we grow up” ~Pablo Picasso


FREE Scope And Sequence!
After you subscribe, you will be redirected to the FREE Scope and Sequence. We respect your privacy. Unsubscribe at any time.